Hi all, well here I am again to share some more Glitzy goodness with you in the form of 2 spooktacular layouts with yummy
Glitz Designs
As the Halloween season approaches I thought I would do a layout to record my Halloween celebration. The celebration stretches right back to pagan roots and is a time to celebrate the end of one year and the beginning of the next, in effect it is the new year celebration as well as a time to celebrate our ancestors and of course the rich harvest to see us through the dark winter months and it is known as

Samhain (pronounced sow-ein)
I love the mix of Purple and black for Halloween so what better line to use than Glitz Designs Plum Crazy, one of my all time favourites ... to date! Purple is such a hard colour to get right with papers and I think Glitz designs just hit the mark with this collection. Ok enough waffling this is my list of ingredients for my layout;
Glitz Designs Plum Crazy paper; Diamonds, chair, polka and stripe
Glitz Designs Plum Crazy journaling cardstock stickers
Glitz Designs Plum Crazy cardstock alphas
Glitz Designs Paisley flourish rub ons
Glitz Designs black damask rub on
Glitz Designs Distressing stamps; set two
Glitz Designs teeny alphas; round black.

I ripped the piece of chair paper in half roughly along the diagonal and distressed it all ... liberally! Using the text side of the paper it went across the base of the diamonds paper (also distressed of course!)

Before I adhered the lilac text paper to the base I worked on it. I used the alpha stickers to create my title but didn’t want them the strong plum colour that they are so I took some of the sticky off the back (by repeatedly sticking each letter to my jumper) and used the alphas as a stencil. As I had run out of some of the letters I cut around their outline on the sticker sheet so I could use the negative, I quite like the ethereal quality I got from mixing up the positive and negative alphas. I then used one of the distressing stamps and some black ink to stamp over my title and built up a ‘black mist’. Tip; to avoid getting a straight edge from the stamp I only applied ink to the centre, avoiding adding ink to the stamp edge. Once I was happy with the build up of black I removed the alpha stickers (remember Glitz Design stickers are really super sticky so really work at covering them in fluff before using this method!)

I then added a piece of the Damask rub on, this I ripped to avoid harsh edges, a little paisley flourish and then cut out the centre of two of the journaling card stock stickers to add later.

My photos are of my Halloween hearth, candles, crystals and offerings of food and wine, these I layered onto some distressed pieces of the polka paper

Lastly I added some ribbon, a strip of the stripe paper as a detail, some staples, the tiny alphas and my journaling which is a little bit of Samhain Lore.
And now I’d like to take you from the past to the present with all the colours of the autumn season.

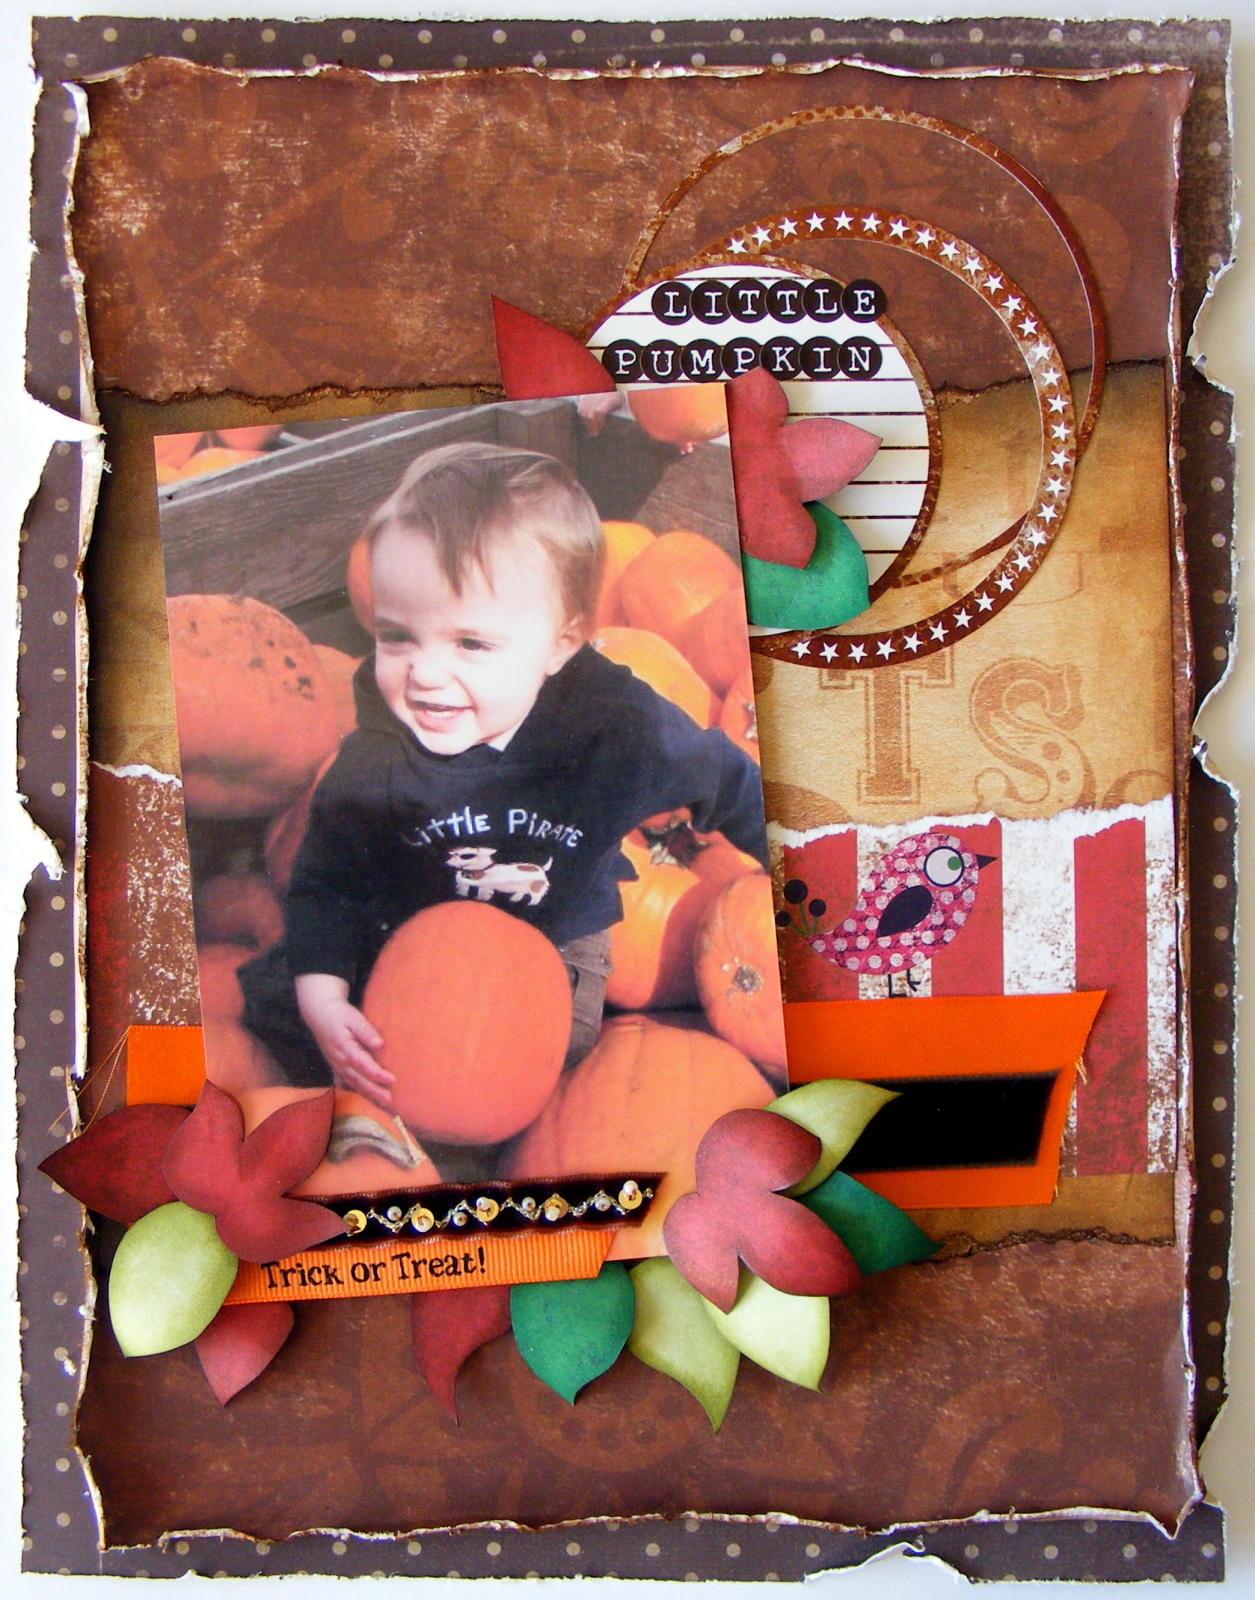
Little Pumpkin
I love this photo of my cousins little boy over in the states last Halloween on his Pumpkin search. I’ve mixed it up a little with my supplies for this layout and here’s the list;
Glitz Designs Vintage Love papers; love letters and polka
Glitz Designs Kismet papers; brown and stripes
Glitz Designs Kismet journaling cardstock stickers
Glitz Designs Maya papers; damask and stripe
Glitz Designs Maya rub ons
Glitz Designs teeny alphas; brown round

I decided to use the 11’’ x 8.5’’ format for this layout for a change as I really wanted to focus the design around the photo. I layered up a strip of vintage love letters onto some kismet brown then these two onto the vintage love polka. All pieces were distressed and inked, that part of my design didn’t change!

I then added a torn strip of Kismet stripes paper, some ribbon for texture and then cut out the round journaling block from the Kismet stickers so I could keep the very fine line of the outer circle to use as well, so creating 3 circles from the one sticker.

Next I set to with my scissors and the coloured sides of the Maya damask and stripe paper and cut out some autumn leaves. I then inked the edges to define the shape and curled them with my fingers. (You could of course use punches or dies if you have them!)

I layered up the photos and the leaves, using silicon glue to give my leaves movement and added more ribbon for texture.

I added some leaves to the top corner of the photo for balance, added the teeny alphas and finally the Maya rub on birdie ....as it just seemed right :)
And that’s it my Spooktacular Glitzy offering for this month. Thanks for stopping by and whatever you get up to this Halloween may I wish you the warmest of Seasons greetings and Happy Crafting
Love
MJM x